Linda Susan & Rig 69 - May 7, 2011© Photos Posted by Mark Miller © Hi-Res Source
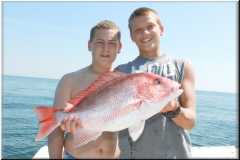
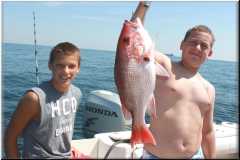
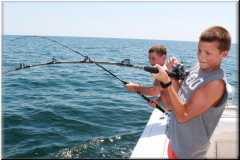
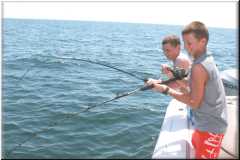
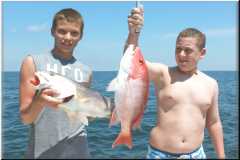
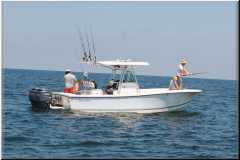
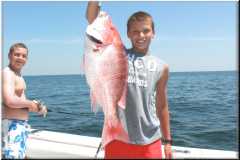
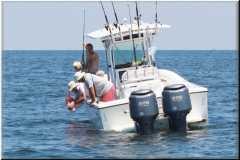
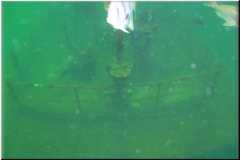
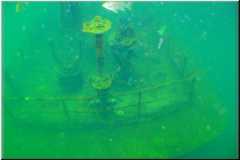
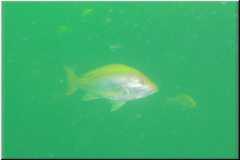
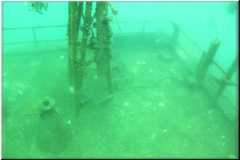
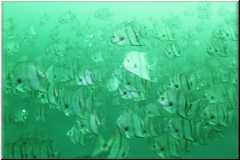
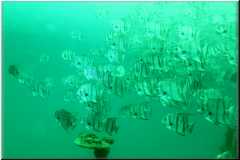
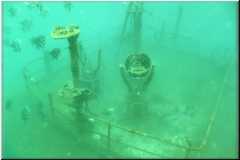
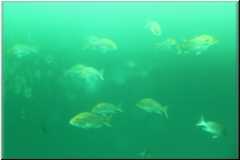
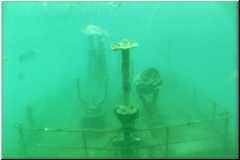
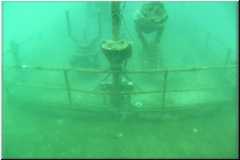
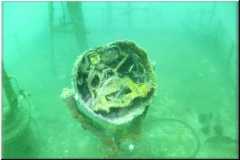
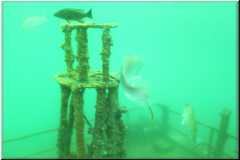
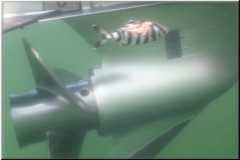
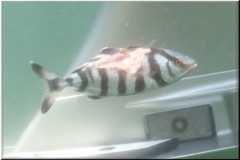
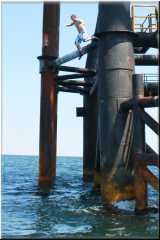
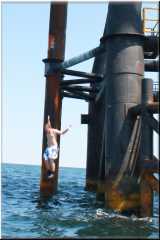
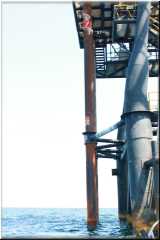
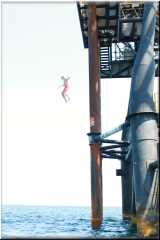
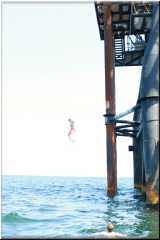
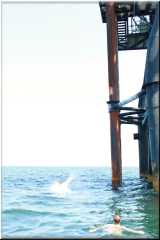
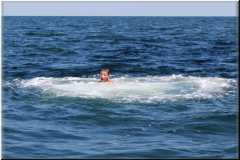
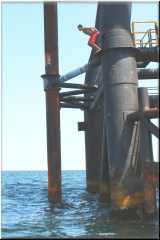
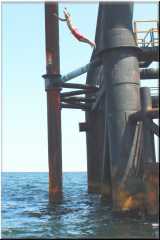
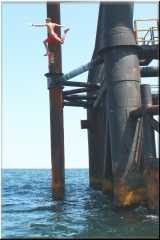
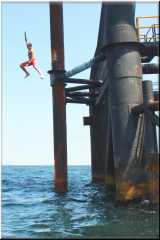
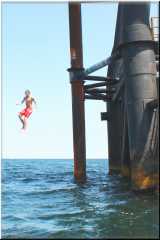
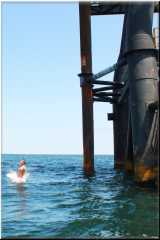
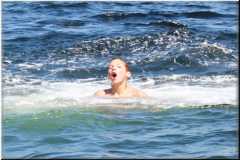
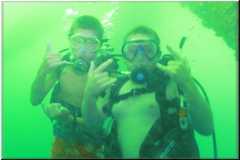
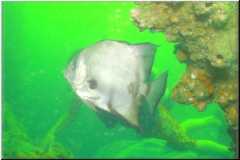
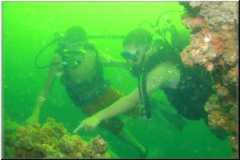
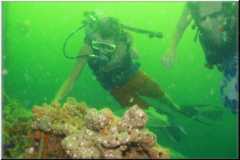
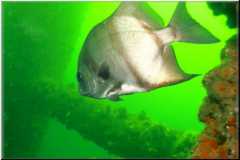
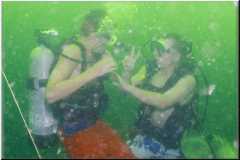
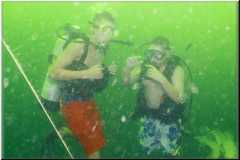
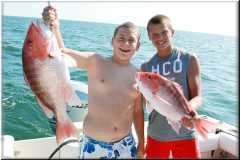
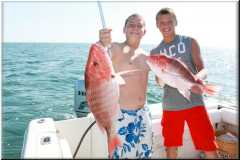
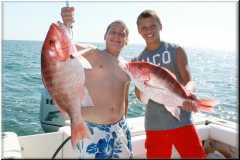
The crew on this trip consisted of myself (Mark Primo Miller) along with my youngest son Luke and his friend John Martin. This started as a reef monitoring trip to FH-2 and FH-13, but the poor water conditions caused by the Flooding Mississippi River hampered observations. We diverted to the tallest structure in FH-13, the Gerald Corcoran Reef. This 145' River Tug Boat had the name Linda Susan and was sunk in 86' of water with the highest point currently reaching to 54 feet of depth. The wheel house just made it up into clear enough water to make observations feasible. There was a multitude of red snapper and spadefish along with several other species. After this dive we proceeded a little farther South to Rig 69 to try and find better water. We crossed a nice tideline full of sargassum, but the water was actually a little worse on the other side. Luke and John did some Rig Jumping before we headed in. After 3 weeks of winds it was a fun trip to just get out on the water. The trip encompassed 72.0 miles, 36.8 gallons of fuel, and 10.6 hours. Click Here for the MGFB Report
|